The Studio is a permanent place where children of all ages work and collaborate. As a result, the Studio is an excellent catalyst for the passing on of knowledge. It is where children become co-authors, investigations develop and relationships form. Today we delve into how you can bring a little of our studio home with you.
“You do not learn to draw by drawing only. You need to learn techniques, but you learn how to draw as well by doing other things. And conversely, you learn math also by planning and building.
Art wears everyday clothes, not Sunday’s best.”
– Loris Maluguzzi
Flour Glue Recipe
Time needed: 10 minutes
What you can glue with flour paste
Use it for paper activities that involve gluing paper to paper, construction paper to paper, card stock to paper, paper to cardboard or tissue paper to construction paper.
Tools
1 bowl
1 spoon
1 clean container
1 measuring cup
Ingredients
½ Cup Plain flour
2/3 cup tap water
Oil of peppermint or oil of wintergreen
- Prepare your workspace.
Children to wear aprons. Clear off a space on the tabletop or a counter. Always line the table with old newspaper – it makes cleaning up so much easier!
- Prepare ingredients and pour the measured flour into the bowl.
The children can take out the plastic measuring cups and measuring spoons. Use a butter knife or the handle-end of a spoon to level off the flour after measuring it into the ½ cup measuring cup. Having the exact amount of ingredients helps make our glue recipe a success.
- Pour the water, slowly mixing, until all of the water is added.
You will have to use your muscles to keep stirring until the paste has a creamy consistency.
- Add a couple of drops of peppermint oil (Optional)
Stir again until the oil is well mixed into the paste. The peppermint oil will help to keep the mould away long enough for you to use the glue again and again.
Natural Dyes
A great learning experience to explore with your child is finding colour in nature. One of the ways we do this in the Studio is through creating natural dyes for our paints. Natural dyes create a rich experience, allowing children to explore form, texture, transformation and colour.
Best of all you create a 100% child-friendly edible paint!
Here are a few of the easiest and simplest natural dye recipes you might like to create with your child:
Tumeric Dye
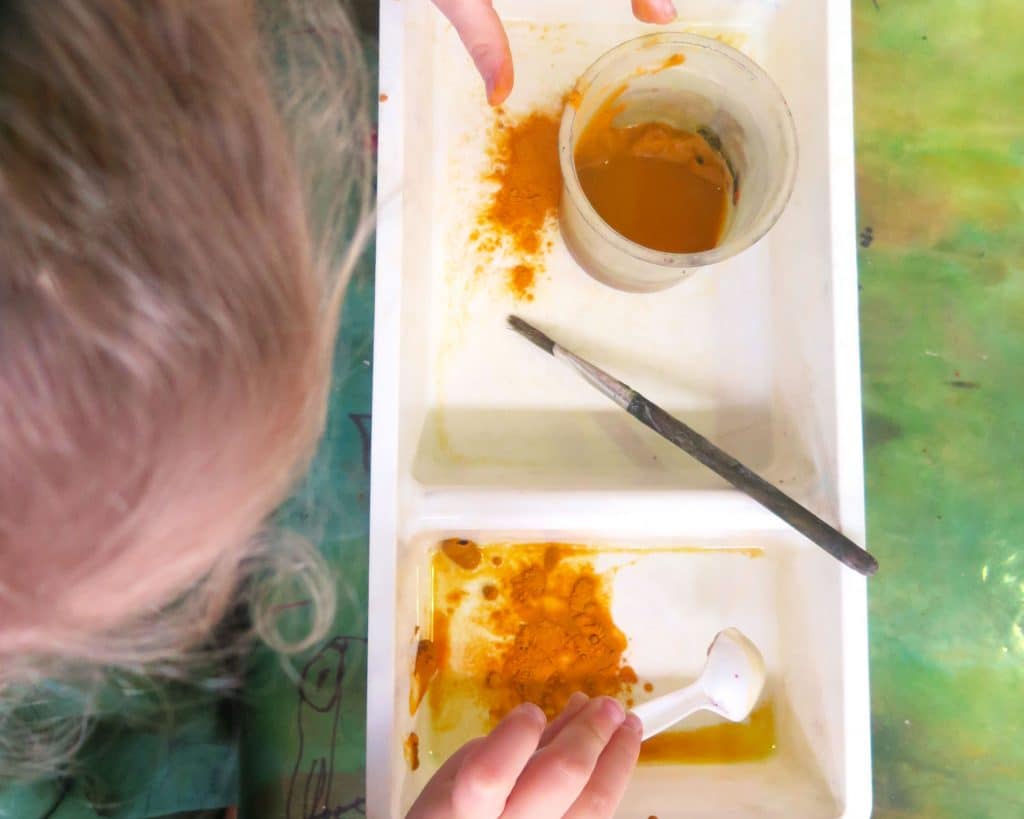
Tools
- Tablespoon
Ingredients
- Turmeric
- Water or Child-friendly Glue Mix
Simply add 2-3 scoops of powdered turmeric to a cup of water or any child-friendly glue and mix!
Please note that while the turmeric will create a beautiful and vibrant yellow dye this colour may stain clothes/carpets. So best to explore this recipe outdoors!
Red Cabbage Dye
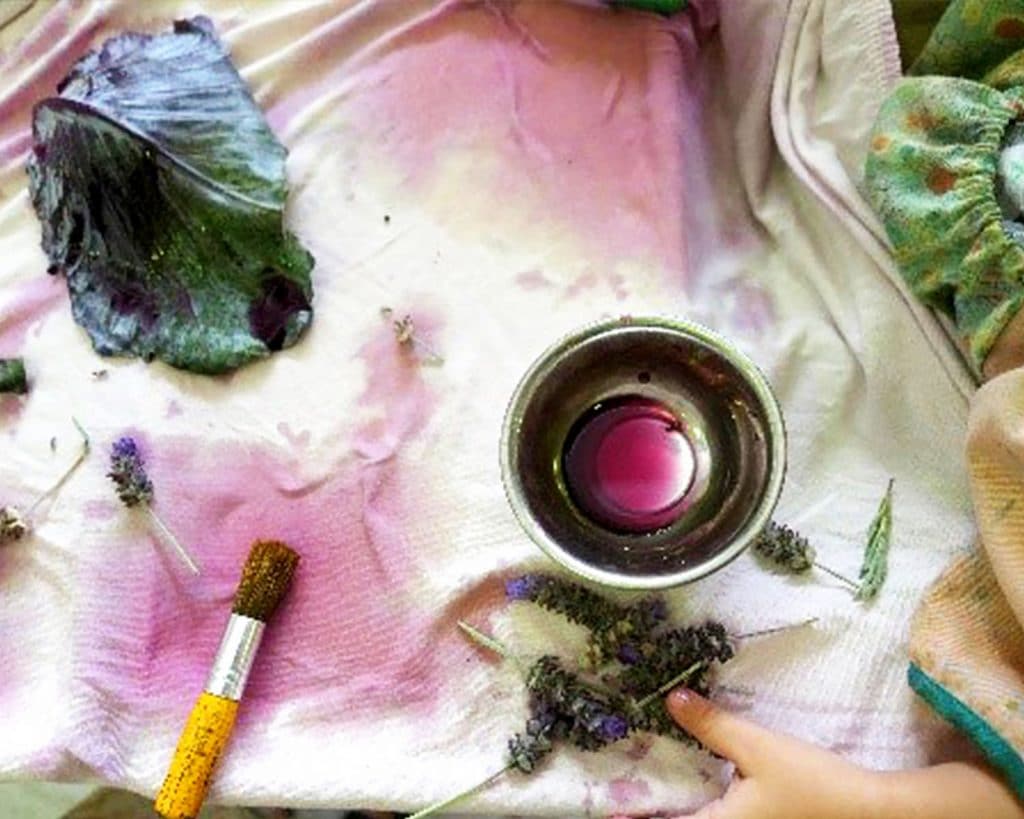
Tools
- Slow Cooker
- Jar
Ingredients
- Red Cabbage
- With your child investigate and pull apart the layers of a large red cabbage. Allow your child to do as much of this as possible!
- Add the leaves to your slow cooker. Then pour a cup of two of water (so it is just covering) and put on low to cook.
- When the cabbage starts to smell (usually an hour or two) turn off the slow cooker.
- Leave it to cool down.
- Once the dye is lukewarm/cold strain the dye into a jar or container.
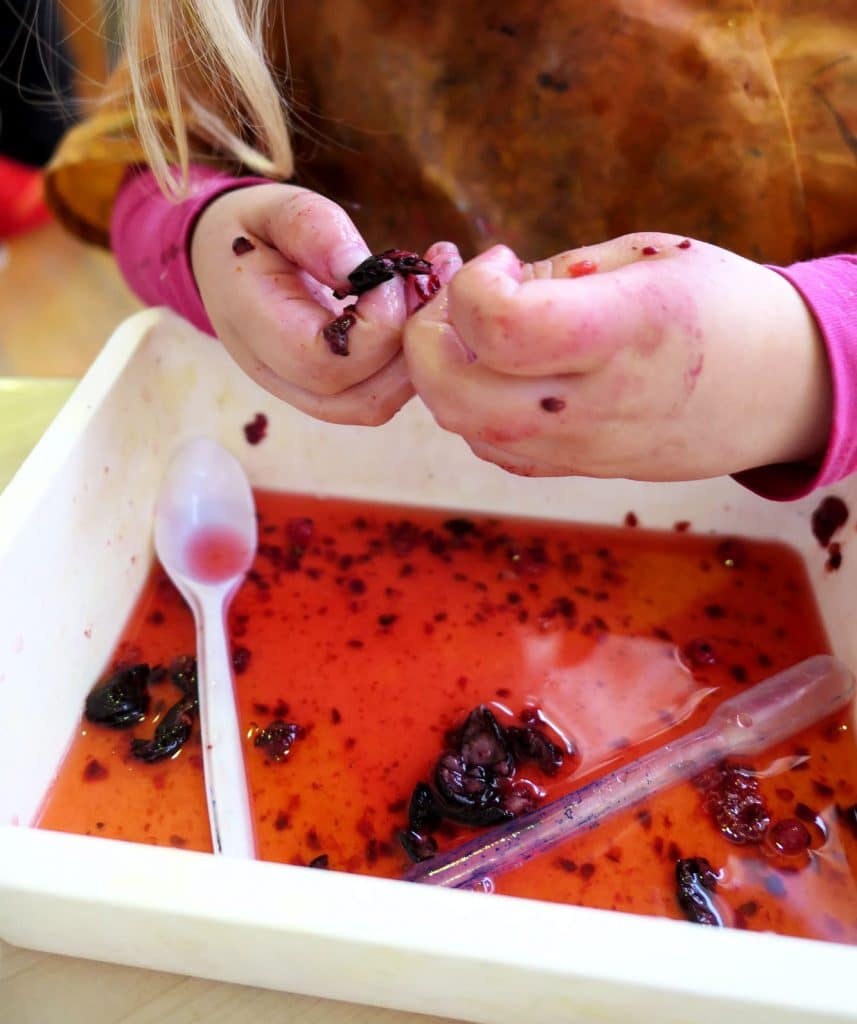
Berry Dye

Ingredients
- Frozen Berries
- Warm water
Tools
- Paper or Fabric
- Container
- Pour a bag of frozen berries into a small/medium container.
- Give your child a small jug or glass of warm water to pour over the berries.
- Together observe as the colour seeps of the berries as they unfreeze. Your child may enjoy squishing the berries to see the burst of colour come out.
- You may also like to take the soaked berries out and squish them onto your paper/fabric
TIP: These dyes work best painted/applied to an absorbent surface. Old sheets or light coloured scrap materials work best or thick paper and cards.